Public safety is a highly complex science and the chain of custody is critical to maintain. With the right packaging methods and storage techniques, you can combat the seemingly endless storage challenges that come along with the job.
In conjunction with the International Association of Property and Evidence Storage (IAPE)’s Professional Standards, here are six tips for evidence room planning and storage.
1. Set clear functions and keep them in mind.
Evidence packaging has to serve two equally important functions. it should be used to protect evidence so it doesn’t lose value, and should also allow for uniform storage within your long-term evidence facility.
2. Talk to your crime lab.
Law enforcement agencies should develop packaging methods that will work for you. however, if you work with a provincial or federal crime lab, keep their packaging storage needs in mind as well. If it’s difficult to store your evidence in their systems, it may take longer to get the evidence tested and returned to you.
3. Provide direction.
It’s important to create a packaging manual; especially if you experience high turnover with evidence room employees of have a large evidence room staff. The International Association of Property and Evidence Storage (IAPE) has a list of evidence types that are pretty standard for most evidence rooms. This list will help ensure you have distinct packaging standards around this type of evidence.
4. It’s okay to say “no”.
In the evidence room planning stage, set a standard from the very beginning. If something is packaged that doesn’t follow the evidence packaging or storage procedures outlined in your manual, it should be refused and the booking office should be notified.
5. Know your department’s needs.
Take a look at the types and quantities of property and evidence that is regularly booked into your property room. this will make it much easier to map out the size and location of areas for different types of evidence. it’s also a good idea to ask your packaging on your most regularly booked items as well.
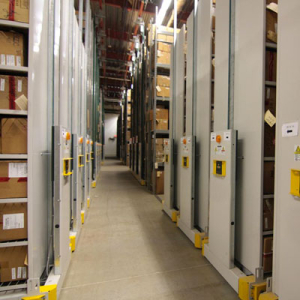
6. Design for your shelving.
If your shelving is fixed, it’s easier to design your storage containers around your shelves. If the shelving is adjustable, consider using standard sizes to minimize costs. for example, it’s much easier to use a standard banker’s box, than to use boxes of various shapes and sizes.
![]() We’ve come up with 6 bonus tips to consider when taking a look at your evidence packaging and storage.
We’ve come up with 6 bonus tips to consider when taking a look at your evidence packaging and storage.
1. Visit other sites; see what works and what doesn’t.
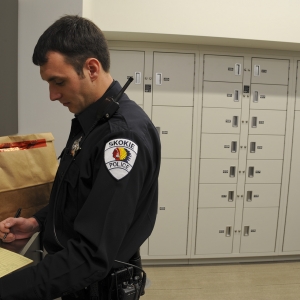
2. Put evidence lockers in the most convenient area: the Report Writing Room.
3. At every possible opportunity, build pass-through lockers into the common wall between the Report Writing Room and the Property Room to save time and energy.
4. Avoid standard lockers with simple “gravity” locks at all cost as these can be easily picked open and will compromise your chain of custody.
5. Use lockers that are constructed to be openable solely from the Property Room with a flappable catch, so you won’t need to worry about keys.
6. Vary the size opening of the locker compartments for inevitable varying types of evidence AND include refrigerated and/or drying cabinets.
